Brow Mapping with Paste
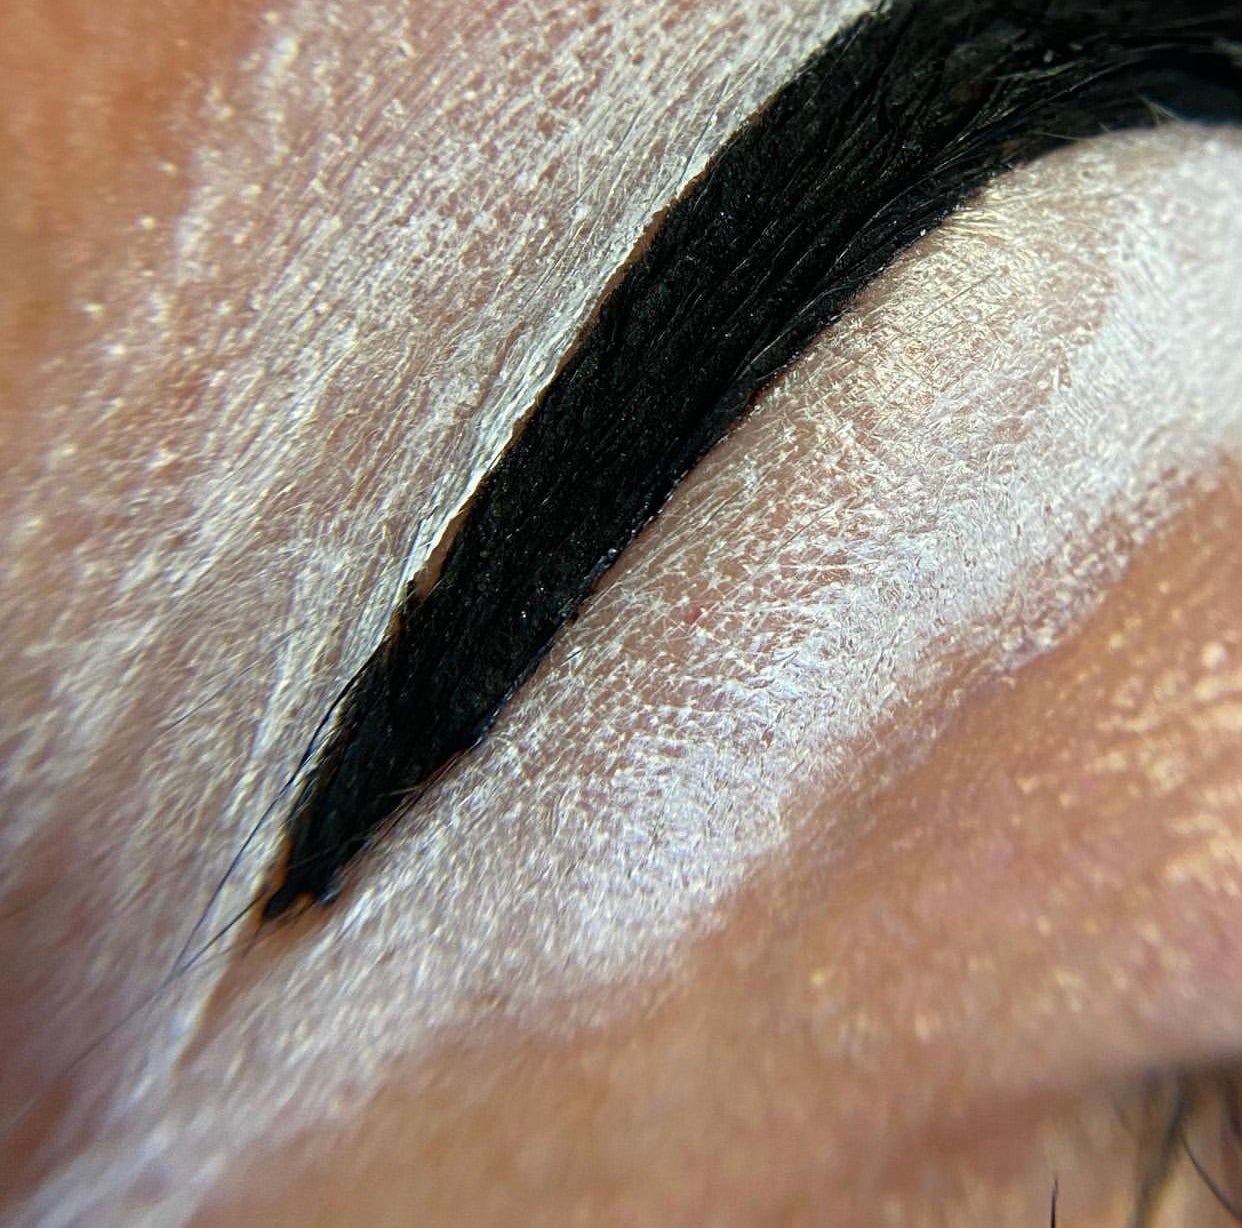
Have you been eagerly awaiting the next series topic from Elleebana trainer Anastasia Hoff?!
Here’s the inside scoop on creating the perfect brow Helena paste featuring the Brow Mapping Paste & Brush by Natallia Ivchankova.
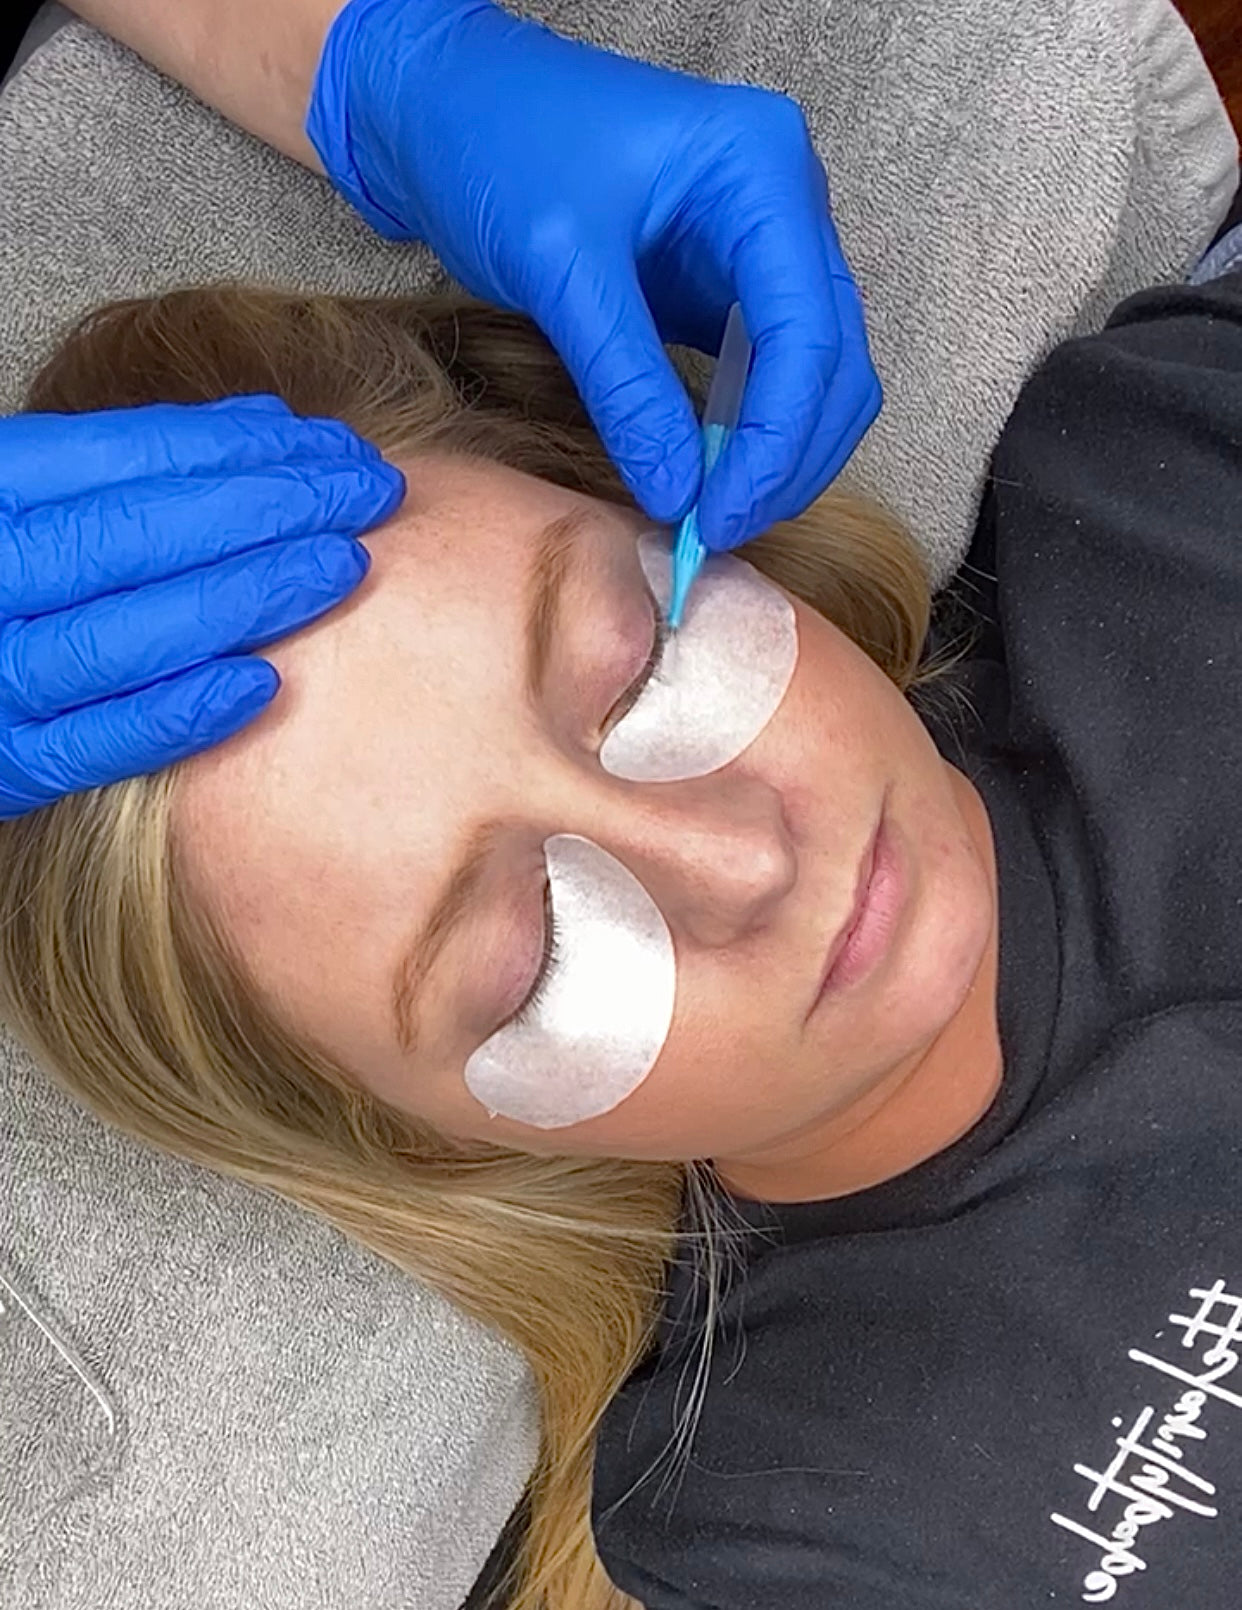
1. Use a clean applicator to scoop out desired amount amount of paste (dependent on size of brows) and apply a thin layer to the back of a gloved hand.
2. Use your brow mapping brush to pickup paste to coat the front and back tips of bristles.
3. Begin applying paste under the arch line, where you would normally apply a highlighting product.
*Pro Tip: If any paste is applied inside the brow line it will need to be cleaned off before applying henna, as the paste will create a barrier. For this reason, it is best to apply paste conservatively from a little further away and gently work it closer to the desired brow line.*
4. Apply paste using the same method to the top of the brow.
4. Apply paste using the same method to the top of the brow.
*Pro Tip: Hold brows taught while applying paste.*
5. Slightly angle your brow mapping brush to create a soft line at the head of the brow; work to create a soft “v” shape formed from the bridge of the nose.
*Pro Tip: The client’s muscle and bone structure will determine the overall outcome of the brow outline.*
6. Locate the proper tail placement by feeling for the client’s temples.
*Pro tip: Maneuver your body around the client to have the best view of your client’s brows and achieve the perfect shape.*
7. Check for overall symmetry and desired outcome before moving on to the next step.





![INTENSE BROW[N]S BY REFECTOCIL®](http://www.panoplybeauty.com/cdn/shop/collections/image_bd191533-c6e9-4f3f-937c-35e8a500b7ad.jpg?crop=center&height=1000&v=1719754082&width=2000)
